
Step 1: Bring the Right Gear!
For obvious reasons, you can’t really roll a sit-on-top recreational kayak or inflatable “duckie.” Bring a sea kayak or whitewater kayak. Some kayaks are a bit easier to roll than others (low waterline, narrow waist, smooth chines), but any sea or whitewater kayak can be rolled.
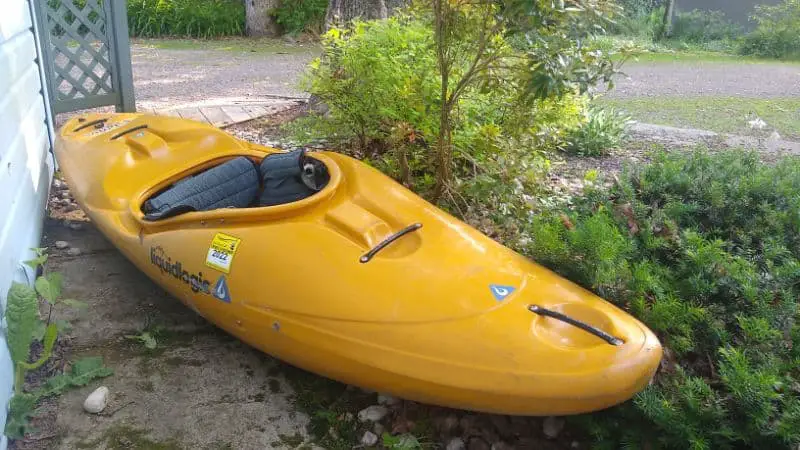
I brought a LiquidLogic Remix 69 river runner. Like most whitewater kayaks, once you crossover the second stability threshold, it rights itself easily. However, it spins a lot during the sweep stroke.
Don’t forget your cockpit spray skirt, life jacket/PFD, and paddle!
Spray Skirt
- Best to use a whitewater neoprene spray skirt when learning to roll. Cheap nylon spray skirts tend to A) let in the water while upside down and B) can even be ripped off the cockpit cowling after repeated roll attempts. But no matter what skirt you bring, confirm you can easily yank the grab loop to peel it off.
Paddle
- While you can certainly learn with a feathered paddle, a non-feathered paddle is easiest because A) the blades naturally float flat on the surface of the water and B) rolling on your offside is a simple mirror image of your onside roll.
- The longer the shaft and the bigger the blades, the more force a paddle can exert on the water. Avoid super-short recreational paddles, which don’t offer much leverage.
- If you have a paddle with a plain circular cross-section, you might want an indexing grip so you can blindly figure out where your hands should be placed. But as I said, if you have flat blades, you can let the paddle automatically right itself before beginning the stroke.
PFD
- If you’re learning how to roll a kayak on your own, NEVER enter the boat without wearing a life jacket. If you black out (which can happen simply from righting yourself too quickly), a life jacket might be the only thing that saves you.
***
Other helpful gear for being underwater includes:
- Nose clip
- Goggles
- Wetsuit
Nose Clip
- A nose clip is really a necessity for most of us. Water tends to travel up your nose when your head is upside down. You don’t want nasty lake water in your sinuses!
- (Technically, you can exhale a small stream of bubbles out your nose to maintain positive pressure and keep out water, but that’s too much to think about when you’re learning!)
- If you’re really nervous about rolling, you can even practice breathing underwater with an upside-down snorkel.
Googles
- Diving/SCUBA goggles are easiest to learn with, since you don’t need a nose clip. They’ll automatically keep water out of your nose. But swimming goggles with a nose clip is better preparation for the river.
Wetsuit
- A 2mm/3mm wetsuit is recommended if the air or water is anything close to cold. You’ll be spending lots of time getting drenched!
For a complete gear list to introductory kayaking, see my affordable gear list for whitewater kayaking.
Step 4: Go Roll!
Unfortunately, even if you’ve memorized a YouTube video, you probably won’t roll your first time. Or your second. Maybe even your 10th. But perfect practice makes perfect!
Here are some lessons I learned from teaching myself how to roll a kayak.
Get Used to Being Upside Down
Fear makes you do weird things. Before you even try to roll, just flip upside down and hold your breath for 15-30 seconds. Hang out in the water. Then pull the loop and exit. Sure, you’ll have to swim to shore and empty your boat, but you’ll conquer any fear of being upside down in the water while stuck in your kayak. You’ll realize you’re safe, and there’s really nothing to be afraid of.
Keep Your Head In the Water!
As a human, I like oxygen. So I instinctively try to raise my head too early. That’s a guaranteed way to fail a roll. Your head must be the last thing out of the water! Think of your ear as being attached to your shoulder. That’ll help keep your head down until the boat is already underneath you, hip snap completed.
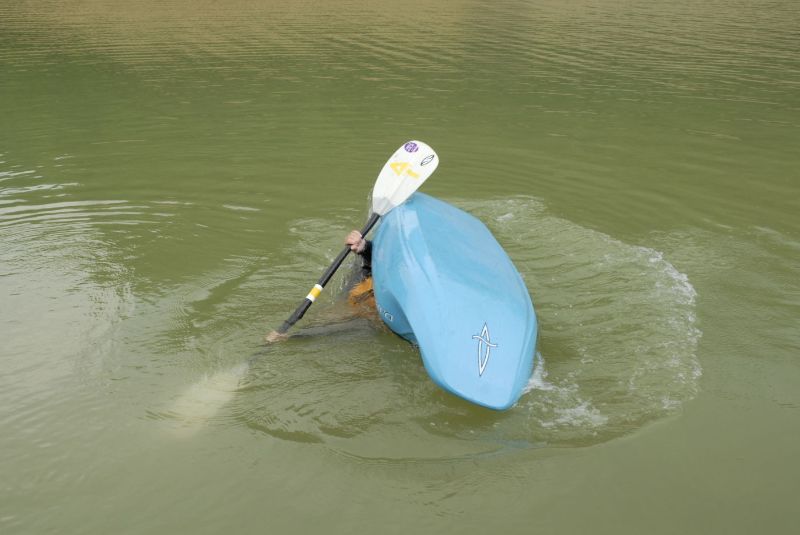
Stick the Paddle Straight Out
Don’t point your paddle towards the bottom of the lake during the setup phase. Stick it straight out, keeping the blade on the surface of the water. Extend your arms to maximize leverage, but don’t slide your hands out of the “paddler’s box” position.
Time the Hip Snap
As soon as you begin pulling down on the paddle, you’ve started “the clock.” Once the blade has dropped about 18 inches, it’ll be so steeply angled that it won’t do you much good. So you must time the hip snap to begin immediately after you pull down. Be quick, but not instantaneous. (This is the part of the roll that took me the longest.)
Don’t Listen to the Fear
I found a video promising a super easy kayak roll technique called the “Lever Roll” (also known as the Pawlata roll amongst sea kayakers.) If I botched my regular roll, I thought, I could always use the Lever Roll to get up quickly!
Here’s the thing. Is the Lever Roll easy? Absolutely. You get incredible leverage on the water (hence the name). And it’s a great roll to teach beginning sea kayakers.
But it doesn’t fix fear. If you’re scared, you’ll still screw it up (I did). If you lift your head too early, you won’t finish the roll. And what happens when your last-ditch effort fails? Well, you freak out even more!
So trust the roll. Don’t rely on a gimmick or an impromptu roll to fix your fear. If you’ve tried rolling two or three times, and your lungs are starting to burn, don’t abandon ship just yet. You’re not even close to blacking out. Just set up in the home position, sweep out, trust the hip flick, keep your head down, and you’ll find yourself upright – and very proud of yourself.
Swim Smart
Don’t do what I did after my first successful roll. “I’m king of the woooorrld!” I thought to myself, happily paddled 100 yards into open water, tipped over, couldn’t roll, wet-exited, and spent the next 15 minutes dog paddling my boat to shore.
Swimming and wet exits are part of kayaking. Learn how to wet exit a kayak safely. Make sure your boat is properly outfitted so your knees aren’t clamped in concrete in the thigh braces.
If you have them, use float bags. That’ll make your boat much easier to push and much faster to drain.
Swimming with a kayak is very slow. You can try paddling with one arm. If you’re far from shore, you can do what I did, and attach a 6-ft paracord tether to your boat. Then just swim as usual in front, towing your boat behind you!
Or better yet, learn to self-rescue.
Don’t Give Up!
If you’re having trouble with the roll, you can diagnose your problems endlessly. Maybe you’re diving instead of sculling on the steep stroke … maybe you’re snapping your hip too early (or too late) … maybe you’re lifting your head too early … maybe you’re pointing the blade down rather than out on the strike phase…
I’m not a trained instructor, so I can’t give you any specific tips or pointers. But as Eric Jackson says, “You only have so much random access memory.” You need muscle memory, not a bigger IQ. There’s no substitute for time in the water.
Keep practicing. Don’t give up. As EJ also says, “If you think about anything but rolling up, you will have more trouble rolling.” So maintain that laser focus, and remember, even when your lungs are burning, you have at least another 20 seconds worth of air in you!
